
Email is the backbone of digital communication, especially for businesses. Whether you’re a small business, freelancer, or startup looking to create a professional email address (e.g., you@yourcompany.com).
Here’s a step-by-step guide to help you set up a corporate email using Zoho Mail.
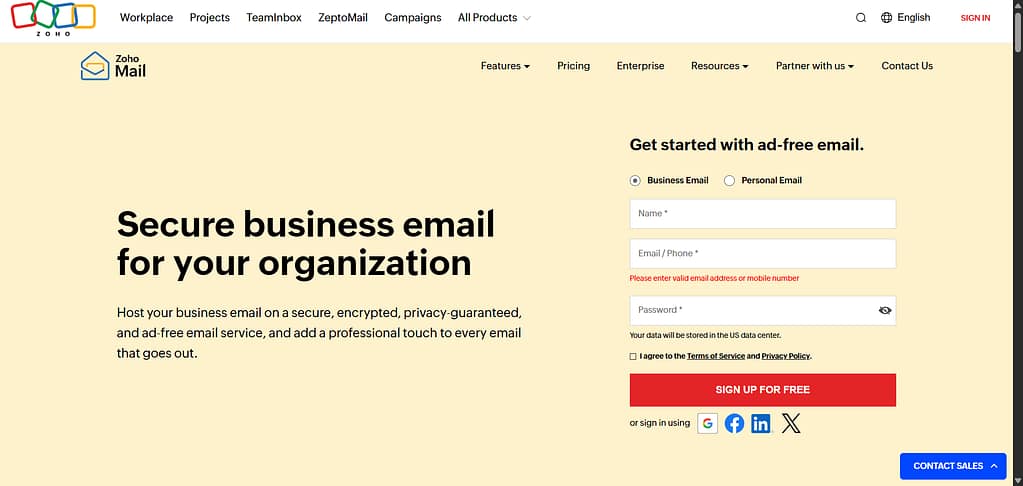
Visit the Zoho Mail Website
Go to https://www.zoho.com/mail/
Click on “Sign Up Now” under the Business Email option. Fill in the information for an Admin account that will be used on Zoho. [For the email field, always put an email that you have access to, for example, Gmail or Yahoo mail.]
Choose Your Plan
Zoho offers various plans, including a Forever Free Plan for up to 5 users with 5GB storage each and email hosting for a single domain.
- Click “Sign Up” under the Forever Free Plan, or select another plan if you need more features.
Enter Your Domain Name
You’ll be asked whether you already own a domain:
- If yes, enter your domain name (e.g., yourcompany.com) and click “Add”.
- If you don’t have one, you can choose to buy a new domain through Zoho during setup.
⚠️ Make sure you have access to the domain’s DNS settings—you’ll need them later for verification.
DNS Setup
Your DNS (Domain Name System) setup connects your domain name to your email service provider. If your domain registrar offers DNS management, you can configure it there. Alternatively, you can use a third-party service like Cloudflare for better management and security. Here’s how to set up Cloudflare for DNS management:
- Create an Account: Go to cloudflare.com and sign up for an account.
- Add Your Domain: Enter your domain name and choose the free plan.
- Review and Maintain DNS Records: Cloudflare will scan and maintain your current DNS records.
- Update Nameservers:
- Cloudflare will provide nameservers (e.g., ns1.cloudflare.com and ns2.cloudflare.com).
- Login to your domain registrar and replace your current nameservers with Cloudflare’s.
Once Cloudflare detects your updated nameservers, you can manage DNS records through its dashboard.
Create Your Zoho Admin Account
You’ll now fill out the form to create your administrator account:
- Full Name
- Email Address – Use an existing email you have access to (e.g., Gmail or Yahoo Mail)
- Mobile Number – Required for phone verification
- Password
Click “Proceed” once you’ve entered all the information.
Verify Your Email and Mobile Number
- Zoho will send a verification code to the email address you entered.
- Enter the code to confirm.
- You’ll also receive an OTP via SMS to verify your mobile number.
✅ Both verifications are mandatory to activate your Zoho Admin account.
Domain Verification
To confirm ownership of your domain, Zoho offers multiple verification methods; the most common and reliable is via a DNS TXT Record.
How to verify domain ownership with a TXT record:
- Log into Zoho Mail and navigate to the domain setup section. Select “Add existing Domain name”
- Add your domain name to begin verification.


- Add a TXT Record in Cloudflare:
- Go to the DNS management section in Cloudflare.
- Add a new TXT record with the following details:
- Name: @
- Value: zoho.verification=…. (provided by Zoho).
- Save the changes and wait 1–5 minutes for propagation.
- Return to Zoho Mail and click Verify Record. Once verified, you can proceed to set up additional DNS records.
Set Up MX Records
Mail Exchange (MX) records ensure your emails are routed correctly. Zoho Mail provides the necessary MX records during setup. Add these records to Cloudflare:
- Go to DNS > Records in Cloudflare.
- Add the MX records and any other records provided by Email Service Provider (Zoho), ensuring you enter the correct values for each record type.
Without accurate MX records, your corporate email will not function properly.
Create Your First Email Account
After domain verification and DNS configuration, Zoho will prompt you to create your primary email address. This will be your main admin email.
- Create a primary email address under your domain (e.g., info@yourcompany.com)
- This will be your main admin email going forward.
Access Your Zoho Mail Admin Console
After completing setup, you’ll be directed to the Zoho Mail Admin Console, where you can:
- Add more users (up to 5 on the free plan)
- Create groups or aliases
- Manage email policies
Final Tips
- Bookmark your Admin Console: https://mailadmin.zoho.com
- Consider setting up email forwarding, signatures, and mobile access through the Zoho Mail app (available on Android and iOS).
Conclusion
Creating a corporate email with Zoho Mail is simple, cost-effective, and a huge step forward for your business’s credibility. With built-in security, custom domains, and powerful admin tools, Zoho Mail is a strong alternative to pricier options like Google Workspace or Microsoft 365—especially for small teams.
If you need help configuring your domain or verifying your setup, feel free to reach out.